Monday, January 28, 2013

the other apple crisp


In my kitchen, the question of "should I make apple crisp" always has a followup question - "which kind ?" I've already blogged about the glories of the Irish Oatmeal Apple Crisp with Whiskey Whipped Cream - the show-stopping final act of our annual St. Patrick's Day Feast. The pleasant chewiness of the oats...the tart yet sweet, soft apples...and the unexpected yet unbelievably harmonious subtle note of smokiness and bite from the whiskey...mmm, is it March 17th yet ?

There is another kind of apple crisp that happens here, though...one that I've been making even longer than the oatmeal version. This one has a gorgeous sugary, buttery, crunchy crust - no oats at all, but just as good as the oat version in its own sugar-rush way.  Basically a Silver Palate adaptation, this is a simple recipe...and simply a Culinary Orgasm.

A note on the apples : you can make this with whatever kind of apples you have on hand - ignore those people that say you HAVE to cook with a certain kind of apple - clearly they've never done anything fun like taking little children apple picking (they usually head right for the shiny red ones.) I've made apple crisps with everything from super tart Granny Smiths to super sweet Honeycrisps and it always works perfectly. You do want a little tartness to offset all the sugar, though - that's where the lemon comes in. Taste a little of the apple, and if it's sweet squeeze that lemon half harder (or even use the whole lemon). If the apple makes you pucker up, just give it a light pass with the lemon. Don't sweat the lemon - however much you use will be fine, I promise !! 

apples for today's crisp : Empire


ready for some sugar, sugar !

making the topping

yes, this is really how it looks at first...

...but it all pats down nicely

baked and ready

mmm !!


Apple Crisp
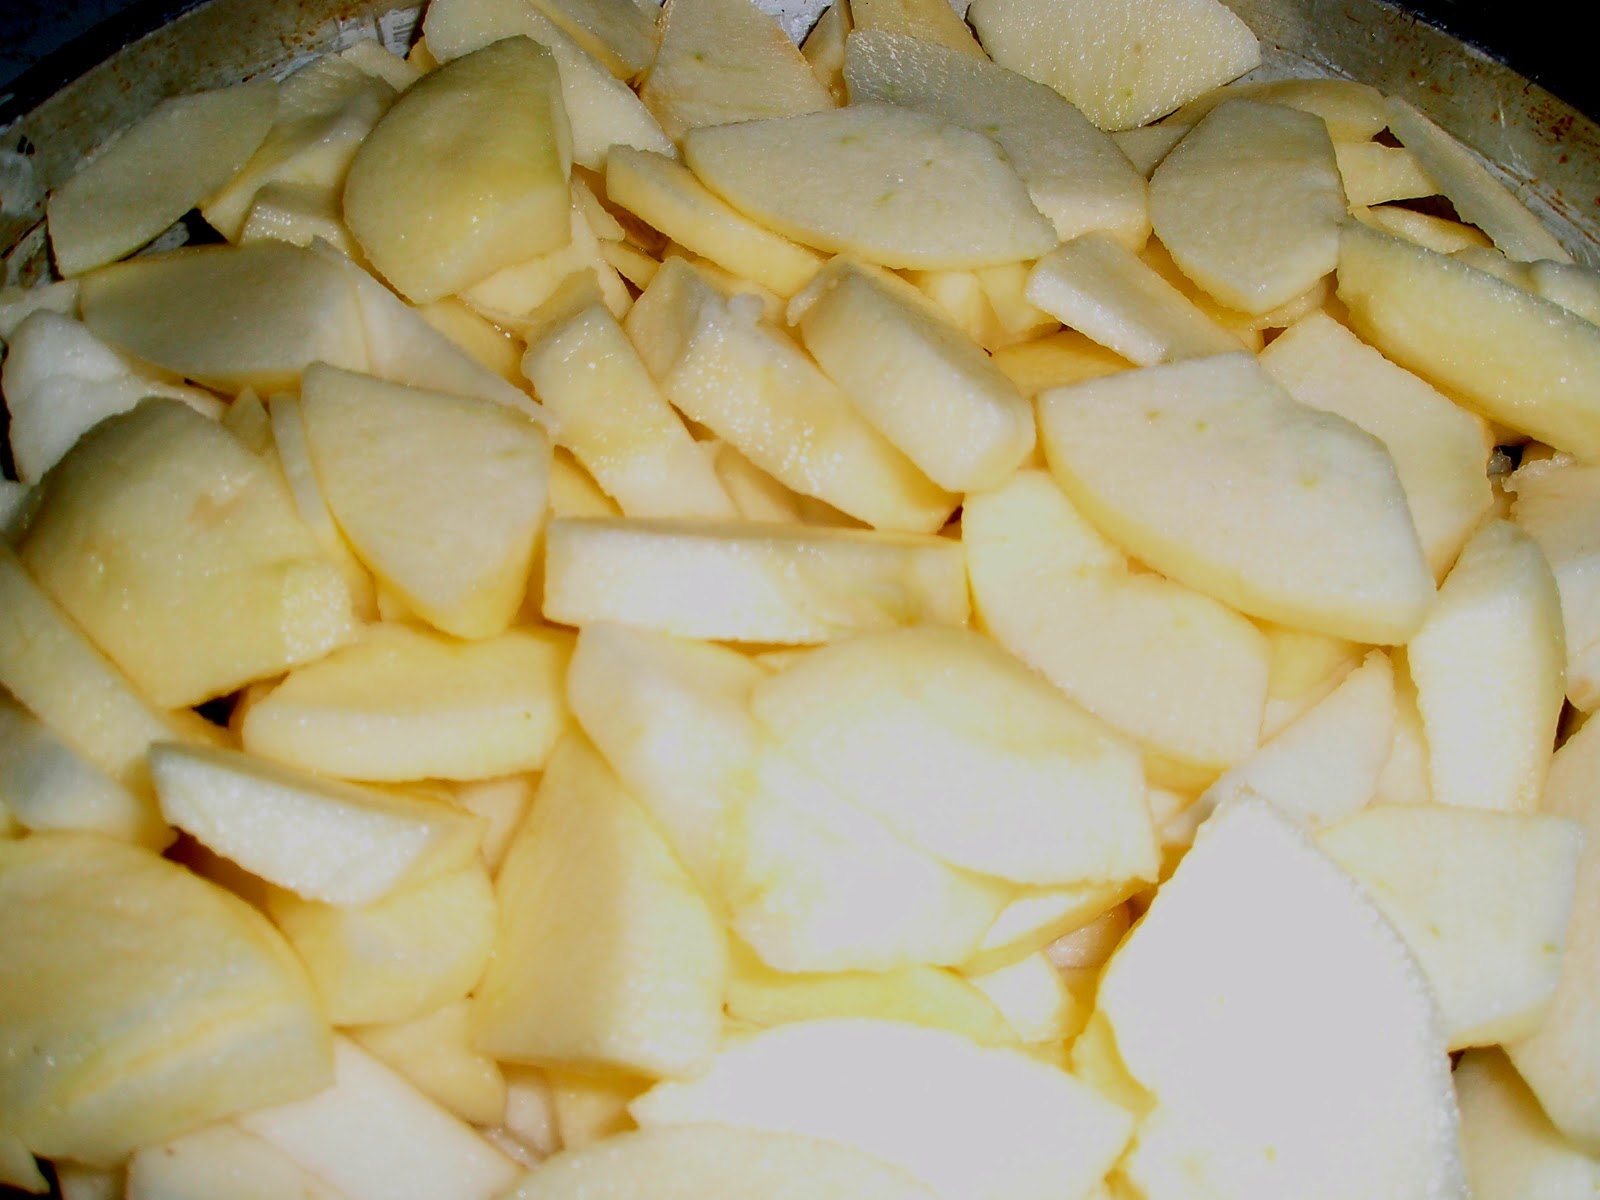
adapted from "The Silver Palate Good Times Cookbook"

5 large or 6 medium apples (enough to just about fill your pan with slices), peeled, cored, and sliced into medium slices (if you use a wedger, cut the wedges in half)
Juice of half a lemon
1 cup flour
1 cup sugar
2 tsp cinnamon
1 tsp nutmeg
1/2 tsp salt
1/2 cup (1 stick) unsalted butter, very cold, cut into pieces (plus a little extra to butter the pan)

1. Preheat oven to 350. Grease an 8 inch cake pan with unsalted butter.

2. Place about half the apple slices in the pan, and squeeze the lemon half over them lightly (in other words, don't use it all in your first pass). Repeat with rest of apples and rest of lemon half. Level out the apples as best you can (no need to go all Martha Stewart here - just flatten them out.)

3. Process the flour, sugar, cinnamon, nutmeg and salt in a food processor fitted with a steel blade* just to combine. Add the butter and process, using repeated pulses, until the mixture resembles coarse meal.

4. Dump the crumb mixture on top of the apples (it will look like a mountain of sand - see above picture. This is normal - don't worry, it will really all fit.) Level out the crumbs as best you can (again, don't go all OCD) and press the crumbs down on to the apples and to the edges of the pan.

5. Bake until the top is golden and the apples are tender, about 1 hour. Serve warm with good quality vanilla ice cream (or gelato - Talenti makes a great one that's available in most supermarkets). Note : for some reason, the whiskey whipped cream - though spectacular - doesn't go quite as well with this crisp, in my opinion. If you've a yen for the whiskey (and really, why wouldn't you now), go for it - it's your damn apple crisp !   

*Don't fret if you don't have a food processor - you can still have delicious apple crisp goodness ! Just cut the butter into really small pieces (it's okay - and actually helpful - to let it get slightly soft). Mix the dry ingredients together well, then work in the butter with your fingertips, a pastry blender, or even the back of a fork.

Thursday, January 24, 2013

Posole

Posole and friends...blue corn chips, limes, queso blanco, avocado...
Posole - a Mexican stew of meat (usually pork), hominy corn and chili peppers - is one of those dishes that I've wanted to try for years. I'd like to be able to say that the reason I've had posole on the brain was from perusing my vast cookbook collection (which I do have, peruse quite often, and blame for many of my obsessions), or because of the influence of some heretofore unmentioned Mexican great grandma.  I'm afraid I can't lay claim to anything quite so cool, however. I've wanted to make posole because of... Jude Deveraux.

Jude Deveraux is a writer of romance novels, which I've had a secret passion for for many, many years. I'm a voracious speed reader of many genres - history, biographies, sci-fi...and. of course, cookbooks. I also love really good historical romances - there's nothing like throwing the occasional brain candy in the mix to keep things happy (there's a reason we call it "brain candy") Most of Jude's novels are indeed historical, but her later stuff is mostly set in the present (she's pretty much the only author I'll read as far as contemporary romance goes.)  In her book "Sweet Liar" the protagonist Samantha moves to New York and does...well, a bunch of stuff...including making posole that makes people cry  (and go back for more). Ever since I read that, I've wanted to make it. What can I say ? That's how I roll :)

 
The main ingredient in posole is hominy (itself also sometimes called posole or pozole). Hominy is a pretty cool food product - it's corn that's been treated with an alkali (basically a weak lye solution) in a process called nixtamalization. Among other things, nixtamalization makes the corn easier to grind,  gives it a longer storage life, makes it taste better, and improves the nutritional value. What's really amazing to me is that ancient Mezoamericans somehow figured out that soaking the corn in water treated with ashes was the way to go...wouldn't you usually throw out the food that fell in the dirty water ? Not the Aztecs and Mayans. Craaaazy. In any event, once the corn has been treated it can either be ground finely into masa harina for making tortillas and tamales, coarsely ground into grits, or left whole as hominy. Hominy can be purchased dried or canned...since I was a first timer, I went for the can. No shame in my game.


A little odd looking, to be sure...draining in the colander it looked like nothing more that wet Styrofoam. I must admit that my romantic notion of posole slipped just the tinest bit...but onward I went.

The next step was to roast myself some peppers. I ended up buying some really gorgeous poblanos because that's what looked good in the market - but use whatever you find. Hatch chiles are popular for posole when you can find them...New Mexico peppers would be lovely...or, of course, you can use canned - there are some very acceptable canned roasted chiles out there. For this recipe I also threw in a couple of minced jalapenos since poblanos aren't very hot...and next time I'll add even more, as the crockpot really tames the heat (plus according to my friend "Aunt Bea" the hominy soaks up the heat as well...thanks as always for you wisdom, AB :))  
photo courtesy of http://www.chilipeppermadness.com as I was too lame to take any :(
To roast peppers, place them over an open gas flame until they blister on all sides (bbq tongs are a wise tool choice here), then place them in a closed paper bag for about 10 minutes until they soften. They can also be roasted in an oven - more detailed instructions can be found here : http://www.chilipeppermadness.com/roasting-chili-peppers.html .

Now that you've got hominy and roasted peppers, it's a snap to throw the rest of the ingredients together in the crockpot and just go about your business. About 15 minutes before you're ready to eat, start putting together the garnishes - I have a long list below, but by all means don't feel pressured to put them all out. Just choose whatever sounds good and off you go !


Posole

2  lb boneless pork shoulder cut into cubes
1 large onion, chopped
4 cloves garlic, minced
4 green chiles, roasted, peeled and chopped (or equivilant amount of canned)
2 - 3 jalapenos, seeded, and finely diced
2 cans hominy (28 oz), drained
1 teaspoon salt (smoked is lovely if you have it )
1/2 tsp fresh ground black pepper
1 1/2 teaspoons ground cumin
1 teaspoon oregano
2 teaspoons paprika (again, smoked if you have it)
1 quart (approximately) chicken stock 
Garnishes (see below)

Place posole ingredients except stock in crockpot and mix well.  Add enough stock to just cover ingredients in crockpot. Cover and cook on low setting for 6 - 8 hours or on high setting for 3 -4 hours. Serve with any or all of the following garnishes :

Chopped cilantro
Tortilla chips (blue are particularly nice, and a great contrast) - the guys crumbed these right into the posole
Queso blanco (Mexican white cheese) or other mild cheese, cut into small cubes
Lime wedges
Avocados, sliced or cubed
Sliced radishes
Finely chopped red or white cabbage

Sour cream is also recommended by many, but we didn't love it with this (and I love me some sour cream). If you have some, by all means try it out !

Tuesday, January 1, 2013

TT's Black-Eyed Peas with Ham

oh yeah...
 
We're back ! And what better dish to kick off the New Year than a traditional feed of Black-Eyed Peas and Ham ? Even if you don't believe there's anything to the whole "lucky foods" tradition, black-eyed peas make some mighty fine eating. And hey...what if there's actually something to the good luck thing ? We could all do with a little more good luck this year.
 
"I've got a feeling...that tonight's gonna be a GOOD night !"
 
Black-eyed "pea" is actually a little misleading - these guys are legumes, as are peas - but where peas are usually eaten young and green, black-eyed peas are beans - more like a pinto or Great Northern bean than a green pea. The tradition of eating them as good luck food dates back 2500 years ago to Jewish culture - Jews would eat them during Rosh Hashanah (the Jewish New Year) to symbolize the prosperity that they hoped they would be blessed with for the New Year (click here to read more). Most people, though, associate black-eyed peas with soul food from the South, as they are a food that easily made the trip from Africa with the slaves. It is in the South that the unassuming little pea/bean is truly elevated to glorious heights - for they, like all beans, have a mysterious affinity for the pig - particularly smoked, fatty, delicious pork products. Their "luck" factor is variously attributed to their supposed resemblance to coins as well as the abundance of them in a spoonful. For me, though, the lucky part involves me eating them. 
 
Onions, garlic and bacon fat...usually the start of something good :)
 
My own introduction to black-eyed peas came from my mother's ex-partner - "TT", to my son. T was from Baltimore, and though she didn't give herself enough credit she was an amazing cook - I still have dreams about her fried chicken and homemade lemonade (my requested birthday dinner every year), which I would never even try to duplicate. The black-eyed peas, though...oh, did we love those too. Luckily, the peas were much easier than the chicken. T consented to let us hover in the kitchen long enough to get the hang of this one, and we've been lucky enough to make it on New Year's ever since - with our own modifications, of course, but still true to the original spirit of the dish. Thank you, TT. 
 
just look at that HAM !
 
As with many bean dishes, the ingredients for this one are easily adaptable. Don't have bacon fat ? Oil or butter are just fine. Throw the ham bone from your next ham dinner (along with the leftover meat) into the freezer, and use that instead of the hock. Can't find a Spanish chorizo ? No big deal, just throw in more ham (or less, if you'd like a bigger ratio of peas). You could even do this entire dish with smoked turkey parts, if you're not a pig person. We won't judge :)
 
Cornbread (mine is here ) makes an excellent accompaniment, as do greens (more on those in another post).
 
A note on the vinegar - traditionally, the vinegar is stirred in at the end to kick up the flavor as well as to make the beans a little less...um..."musical". It's totally optional, though - we actually just put the vinegar on the table and let people use it at will. Personally, I like them both ways - so I usually do one bowl with, and one without. Hey, it's your party...go forth and pea !
 
 " As we start the New Year, let's get down on our knees to thank God we're on our feet! "
-Irish blessing

Happy New Year !
 
 
TT's Black-Eyed Peas with Ham
 
1 pound black-eyed peas, soaked overnight (or use Quick-Soak method below)
1 large onion, chopped
2 cloves garlic, minced
2 tablespoons bacon fat (or vegetable oil)
1 large, meaty ham hock
2 tsp dried thyme
1 bay leaf
1 tsp (or more to taste) "house" seasoning (see below) 
1 quart (about) chicken stock - see directions
1 small Spanish-style chorizo, diced*
1/2 lb ham (leftover, or use a ham steak - just not lunchmeat !), diced
1 tablespoon white vinegar (optional)
Salt, to taste (only add towards the end, as too much will toughen the bean skins)
Additional white vinegar and/or Tabasco, for serving
 
Melt bacon fat in bottom of kettle or Dutch oven. Add onions and garlic and cook until softened and translucent, about 10 minutes. Add peas, ham hock and spices, and stir well to combine. Pour in chicken stock until it just about reaches top of beans. Bring to a boil, then reduce to a simmer and let simmer for an hour, stirring occasionally. When you stir, check your liquid level - add more stock if needed to keep level right below tops of peas.
 
After about an hour, stir in the diced chorizo and ham. Check the liquid level, adding more stock if needed. Simmer another hour, stirring occasionally, until the peas are done to your liking. Remove from heat and stir in additional salt to taste and vinegar, if using.


Note #1 - Quick Soak method for beans - if you forget to set them out to soak the night before :
Place beans in a large pot and add enough HOT water from the tap to cover by a few inches. Bring to a boil and boil for two minutes; turn off heat and leave covered for an hour. Drain, and proceed with recipe.
 
Note #2 - "House" seasoning - so there I was researching collard green recipes one day (more on that in another post). Found a Paula Deen recipe, which seemed to make sense - after all, who would know more about collard greens  ? It called for her "house" seasoning, though - which I assumed was some sort of seasoned salt thing. Well, I didn't have any of that - but I did have a jar of Spicy Montreal Steak Seasoning (given to me by my sister, who bought it by accident). Salt, pepper and spices...I figured a little of that would do the trick...wow, did it ever - those greens were AWESOME. Since the flavorings for black-eyed peas are very similar, I used a little of it here too...perfection. When I finally use the jar up, I'll just mix up my own as it's pretty easy...here's a typical blend http://www.canadianliving.com/food/great_canadian_steak_spice.php .
 
Note #3 * - Spanish-style chorizo is different than Mexican chorizo...one of the main differences is that it's fully cooked, which is why it's added so late in the cooking process here. Do not substitute Mexican chorizo unless you plan to cook it first.